Monday, June 1, 2015
Dunbar is Growing Up!
Dunbar is eight months old now and is the sweetest dog. She's completed several manner's courses, placed at the top of an agility course, and learned a handful of tricks. It has been fascinating (and sometimes frustrating) watching her go through various stages of development. She loves the cat, loves to nap, and is particularly fascinated by everything. We couldn't as for a friendlier, mellower, dog.
Thursday, March 12, 2015
Lucid Energy
I've started working with a very interesting company, Lucid Energy, as an applications engineer. The company is a startup in alternative energy, and my job involves fluid mechanics - exactly what I wanted to do with my degree! The premise of the company is straightforward - take some of the energy that gravity puts on municipal water pipes and turn it into electricity.
My first day on the job involved going down into our Portland installation, to get to know the brick and mortar side of things. Twenty feet below the road is one of the giant water pipes that supplies the Portland Metro area, and four of our turbines in it.
I had never been in an underground utility vault before - my first thought was that it was the closest I've ever been to being a Ninja Turtle... then we ordered pizza.
My first day on the job involved going down into our Portland installation, to get to know the brick and mortar side of things. Twenty feet below the road is one of the giant water pipes that supplies the Portland Metro area, and four of our turbines in it.
Sunday, December 21, 2014
Meet Dunbar!
After years of thinking about adopting a dog, we finally made the plunge, and adopted a dog. Meet Dunbar! We got her from a rescue, Enzo's Acres. Dunbar's mother was found wandering and pregnant in Central California with a big metal band around her neck and carabiner attached to it. The thought was that she was being used to breed bait dogs and escaped from her situation.
I named Dunbar after Captain Dunbar of Catch 22, a personal favorite book and character. I've read a lot of dog training books over the years in anticipation of adopting a dog, but boy did they not really communicate how much time goes in to raising these little pups. She's a great puppy, and someday will be a great dog!
Saturday, June 14, 2014
Graduation!
After four years of schooling, I am finally proud to say that I've graduated with a Bachelor of Science in Mechanical Engineering from Portland State University, with EIT designation to boot! It was a long journey, and quite the leap from my marketing career, but thanks to all the support from my friends and family, I made it. Now, back to work.
Thursday, June 5, 2014
3D Systems Capstone Project: 3D Printed Clock
Today we presented our final capstone project, a no-assembly-required 3D printed clock. Our capstone team: Ondrej Fercak, M. Jeff Gunderson, Sasha Friedman, Anh Ha, and Jack McCollister. Capstone sponsor: 3DSystems, Project Adviser: Dr. Trevor Snyder, Faculty Adviser: Dr. Sung Yi.
Folks have made all sorts of 3D printed machines before, but what set this project apart is that our clock requires no assembly by humans. This is remarkable for a number of reasons, mainly in that we are severely restricted in materials, in this case in one type of UV-cured resin from the 3DSystems Projet 3500 HDMax. All of the different pieces of the clock, from springs, to gears, to bearings, all had to be made of this same resin, and printed in place by the printer. Clearances were developed via the support material that is cleared away in the normal post-processing of 3D printed devices; for this machine wax is used as a support material and then melted away in an oven.
Since the resin the clock is printed from is translucent, it is difficult to see in photos, so I'll use some renders to highlight various pieces. The clock was designed in Solidworks with engineering calculations done in MATLAB. The core components are the case and packaging, the power input, and the frequency input and regulation.
Due to the limited size of the print area of the 3D printer, we made a design that would print in a folded state, then unfold for use. On the left the clock is as printed, 5.8" x 8.0" x 8.7", and on the right is the clock in operational stance, 4.6" x 10.9" x 8.7".
Several design options were considered for the case, from a fully-enclosed box to the skeleton design that we settled on. A fully-enclosed box would reinforce the fact that the design was in fact printed with no post assembly, but as it would obfuscate all of the interior design, so we went with a skeleton case.
In order to move time forward, we used a pendulum and escapement system, which performed the dual duty of keeping time moving at the correct rate, and keeping the spring from unwinding instantly.
All in all, it was a great project and a great learning experience to not only work on such a complex system, but to move forward in such an uncharted realm of engineering!
Folks have made all sorts of 3D printed machines before, but what set this project apart is that our clock requires no assembly by humans. This is remarkable for a number of reasons, mainly in that we are severely restricted in materials, in this case in one type of UV-cured resin from the 3DSystems Projet 3500 HDMax. All of the different pieces of the clock, from springs, to gears, to bearings, all had to be made of this same resin, and printed in place by the printer. Clearances were developed via the support material that is cleared away in the normal post-processing of 3D printed devices; for this machine wax is used as a support material and then melted away in an oven.
Since the resin the clock is printed from is translucent, it is difficult to see in photos, so I'll use some renders to highlight various pieces. The clock was designed in Solidworks with engineering calculations done in MATLAB. The core components are the case and packaging, the power input, and the frequency input and regulation.
Due to the limited size of the print area of the 3D printer, we made a design that would print in a folded state, then unfold for use. On the left the clock is as printed, 5.8" x 8.0" x 8.7", and on the right is the clock in operational stance, 4.6" x 10.9" x 8.7".
Several design options were considered for the case, from a fully-enclosed box to the skeleton design that we settled on. A fully-enclosed box would reinforce the fact that the design was in fact printed with no post assembly, but as it would obfuscate all of the interior design, so we went with a skeleton case.
The power input and transfer system starts with a helical torsion spring, or mainspring, that is wound via a key (also 3D printed, of course). We initially were skeptical about the ability of a 3D printed material to act as a spring, but after a rigorous set of testing we determined that the material (VisiJet M3 Crystal) does in fact work great as a spring and lasts many duty cycles. Once wound, the spring power is transferred through a freewheel into the gear train, driving the hour, minute, and second hands of the clock.
In order to move time forward, we used a pendulum and escapement system, which performed the dual duty of keeping time moving at the correct rate, and keeping the spring from unwinding instantly.
All in all, it was a great project and a great learning experience to not only work on such a complex system, but to move forward in such an uncharted realm of engineering!
Wednesday, February 19, 2014
Team Earl Grey - Portland State University Senior Capstone
For my senior capstone project I have the honor of leading Team Earl Grey, working with 3D Systems on an ambitious 3D printing project. Our goal is to create a fully-functional 3D printed machine that is no assembly required. This doesn't sound like the biggest challenge on face value, but to actually get a 3D printer to create a working machine is quite the challenge, as usually they print the parts, then someone puts them together, using all sorts of fasteners.
Side note on how we got our name: 3D printers creating fully-functional machines is pretty much the spiritual predecessor of the replicator machine found on Star Trek. So, Team Earl Grey was born.
There will be more to come with our final design!
Side note on how we got our name: 3D printers creating fully-functional machines is pretty much the spiritual predecessor of the replicator machine found on Star Trek. So, Team Earl Grey was born.
There will be more to come with our final design!
Tuesday, December 31, 2013
Winter Holiday Visit to Colorado
Sara and I went to Colorado to visit family over the winter holidays, and stayed in the little town of Ouray for a few days, which is a lovely place, if not a little quiet during the winter. One thing that we've noted with all of our travels is that we're absolutely spoiled for food in Portland; the food scene in Portland is very good quality food for not all that much money.
Our travels took us to Gunnison, and Crested Butte, and it was full of nice, quiet, family time. More photos here.
Sunday, December 1, 2013
Does drinking from a snifter really matter?
For advanced fluid mechanics, we were assigned a pretty open-ended project, basically to find some neat fluid phenomenon and to photograph and explain it to the best of our abilities. Ondrej and I chose to analyze a snifter glass to see if there is really a reason people should be drinking from them, or if it is just tradition.
The theory behind snifters is that they will allow you to smell your whiskey better. You take your hand, cup the glass, and by virtue of your body heat, heat up the whiskey (no ice, please). This increases the rate of evaporation of the alcohol, which is the primary transit method of the aroma via whiskey congeners, which are responsible for the oak and other smells.
I was responsible for the gaseous stage analysis - what happens to the fluid flow once evaporation has happened. I started with the cylindrical Navier-Stokes equations and continuity, made a bunch of assumptions and boundary conditions, and started simplifying. What finally popped out at the end was a familiar equation for pipe flow, and I threw in a little twist to account for the angle of the snifter walls.
So, as you can see, the flow really is governed by the pressure gradient, and the glass geometry acts as a converging nozzle, just as expected. A fun little analysis, one that intuitively makes sense, but now at least I have the math to back it up. Here is a link to the presentation.
Cheers!
Friday, November 15, 2013
Polo Transitions
As I'm coming into the home stretch of my career change, I've been feeling the need to focus on projects other than polo, so after a year and a half of making and selling polo mallets to all over the world, and three years of being at the head of Portland Bike Polo, I'm stepping down from each. The club has purchased the rights to make and distribute the mallet heads, which are still some of the best available, and now I'm free to focus on playing!
Wednesday, August 28, 2013
Vertical Axis Wind Turbine Particle Image Velocimetry
After many months of mathematical modeling in MATLAB, design in SolidWorks, and prototyping with the 3D printer, I finally managed to develop a working scale model Vertical Axis Wind Turbine (VAWT) for use in the Wind Energy and Turbulence Lab to recreate some of the analysis done by Dabiri on potential energy density improvements for VAWT arrays.
The project was constrained by quite a few factors - size, form factor, aspect ratio, solidity, tip speed ratio, internal motor resistance, etc. and it wasn't until after two fluid dynamic classes that I was really able to approach the problem in an analytical way. I wound up doing a lot of airfoil research and settled on a asymmetric GOE-series airfoil that was able to provide a fair amount of lift over a large percentage of the arc. This is important, since with a VAWT, each airfoil is only in a position to be contributing lift during about a third of the time, so you really have to milk it for all it is worth.
Our research lab uses a wind tunnel and particle image velocimetry (PIV) as our primary experimental tool. The wind tunnel is pretty big, but you can only have one experiment in there at a time. As I'm an undergraduate researcher, I was at the top of the list for using the wind tunnel, right after guests, doctoral candidates, and master candidates. So, after about four months, I managed to get in and get trained on the tunnel and PIV by Betsy.
In short, the PIV process is pretty straight forward. A smoke machine pumps smoke (microscopic oil particles called seeds) into the wind tunnel, a terrifyingly high-powered laser illuminates a plane of the seeds, and an array of expensive cameras takes photos of how the seeds move from one micro-second to the next. Throw all of the photos into some processing software and it creates the averaged vector fields of how the overall airflow is moving, plus some post-processing in MATLAB. The devil of course, is in the details.
Makin sure that everything was set up correctly took a lot of time. Aligning the lasers, focusing the cameras, eliminating reflections from the laser (to not burn out the cameras), etc. took a long time. For every minute of experiment that I ran, there was about 100 minutes of setup time.
Above is a work-in-progress picture of the focusing rig inside of the tunnel. The VAWT is painted black to minimize reflections. Behind the VAWT at mid plane is a piece of paper: this is where the laser plane will be shining, so we will be getting information about the airflow in a thin sheet there. For this experiment I analyzed in front of the VAWT and a few planes behind the VAWT, all at the same height and orientation.
I have yet to do a full analysis on the results, but the great thing about PIV is that it makes some pretty pictures. Since Betsy is a pro at PIV, she made the following images for me.
So, what are we looking at? This first image is the overall velocity of particles moving downstream in the tunnel (downstream is positive U, looking downstream to the left is positive V, and up is positive W). Since the VAWT is spinning about the V axis you would think that it would create a skewed wake in the direction of its spin, and indeed the wake is clearly skewed to the right.
The next image shows the flow moving to the left and right of the VAWT, again with flow being just as we'd expect: the spinning rotor directs flow in very specific directions (note the negative signs indicating flow to the right).
Finally, this image shows the in and out of plane components, or the flow moving up and down. This shows the complex interactions that are happening as the bulk flow interacts with the mast, airfoils, motor mount, etc.
Hopefully I will get to further analyze this data; ultimately I'd love to write a publishable paper on it, but we'll see if that works out. Overall, it was a fantastic learning experience to be trained on and then carry out my own PIV experiment!
Sunday, May 26, 2013
Biglow Canyon Wind Farm Analysis
As part of my work for the Wind Energy and Turbulence Lab I was given a large dataset from the Biglow Canyon Wind Farm in Eastern Oregon which covered ten minute average wind speed and direction for 217 some turbines and meteorological masts for all of 2011.
 |
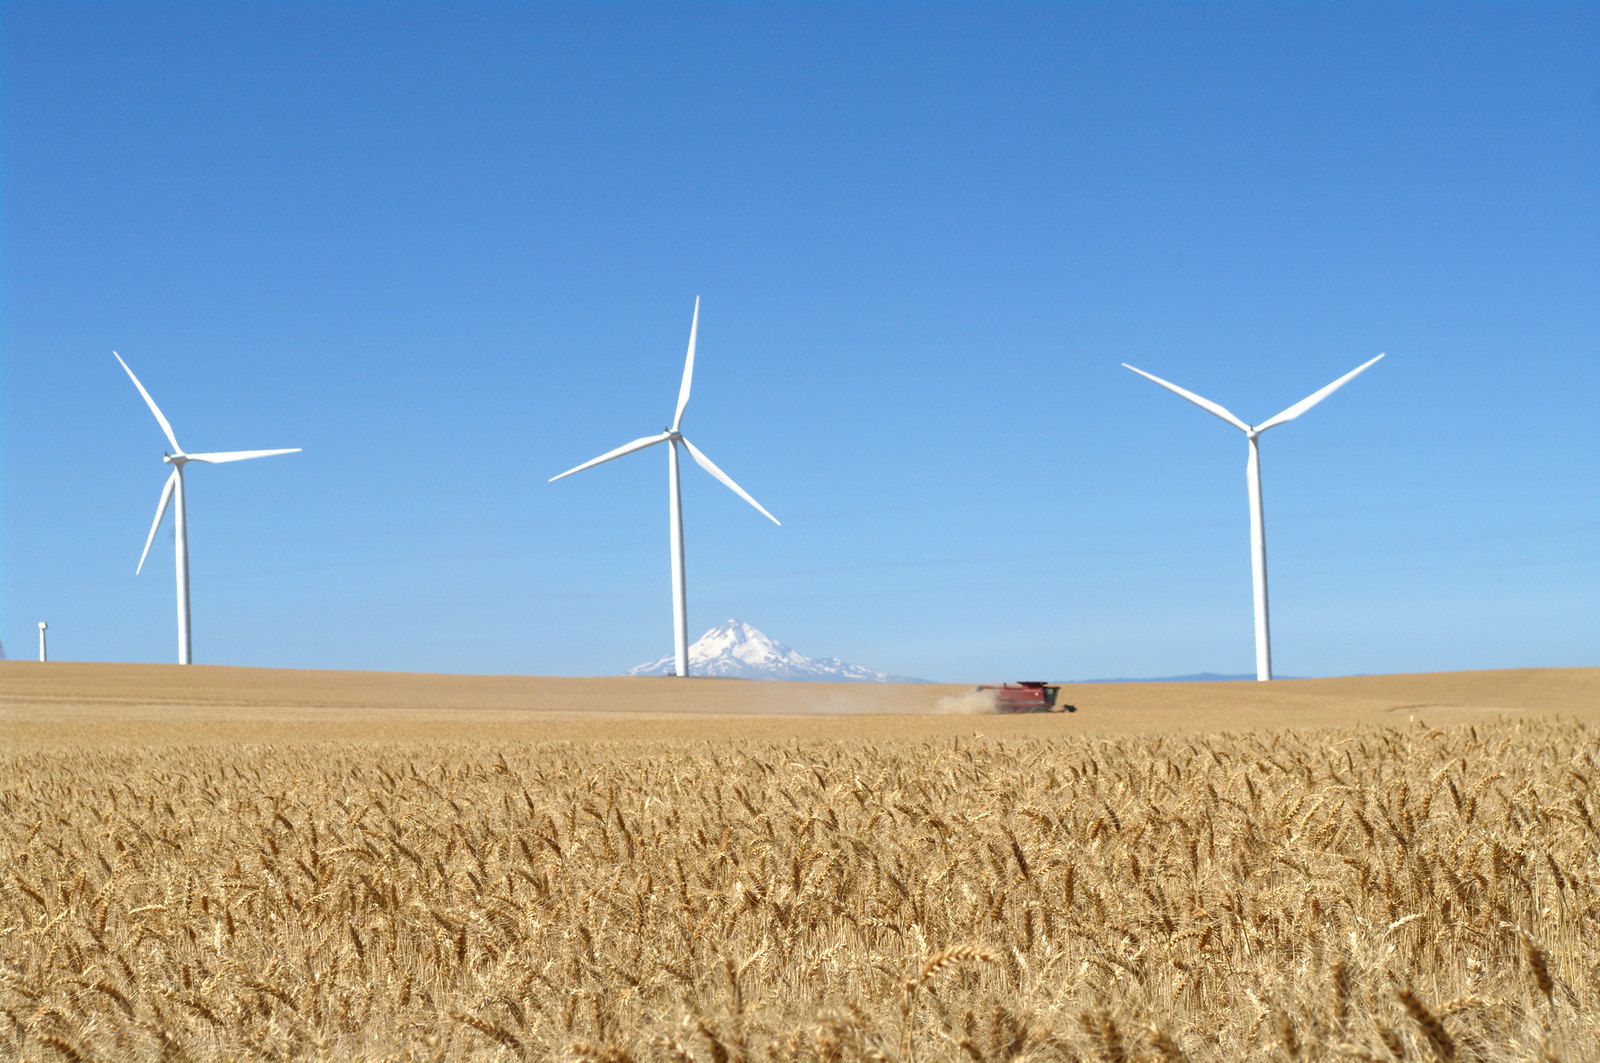
| We visited the Biglow Canyon Wind Farm too! Pretty darn pretty! |
Originally to sort the data I wrote some loop heavy code that by my estimate (extrapolated tic toc) would take 6,000 some minutes to run... A few modifications later I got down to 2,000 minutes. Since this was still unacceptable, I set out to redo the code in a more linear index way, and got the run time down to 2.6 minutes! I was pretty proud of that.
Once I had the data sorted, I thought that I could get down to actually analyzing it, but I quickly realized that I had to learn some visualization techniques first to make sure the data actually made sense in its raw form of speed and direction. Some simple graphs, wind bins, and histograms showed a lot, but since the data was time and location based, I needed something more robust. I loaded up a USGS terrain elevation dataset, combined it with the tower coordinates, created a windspeed mesh colormap overlay, and started making movies MATLAB movies of the results. I'm not linking any movies, but here is a still frame.
| Windspeed in m/s on 2011-04-01 at 18:10 |
Subscribe to:
Posts (Atom)


